

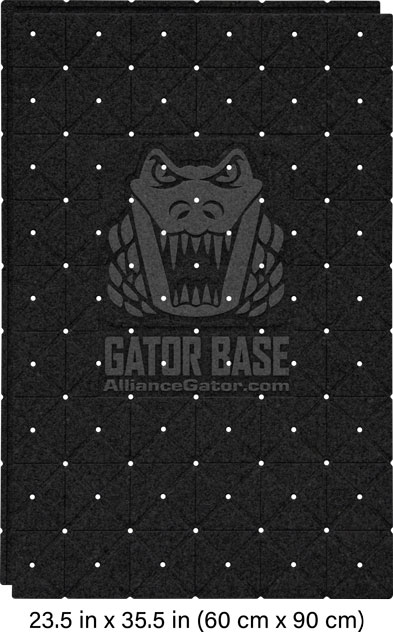
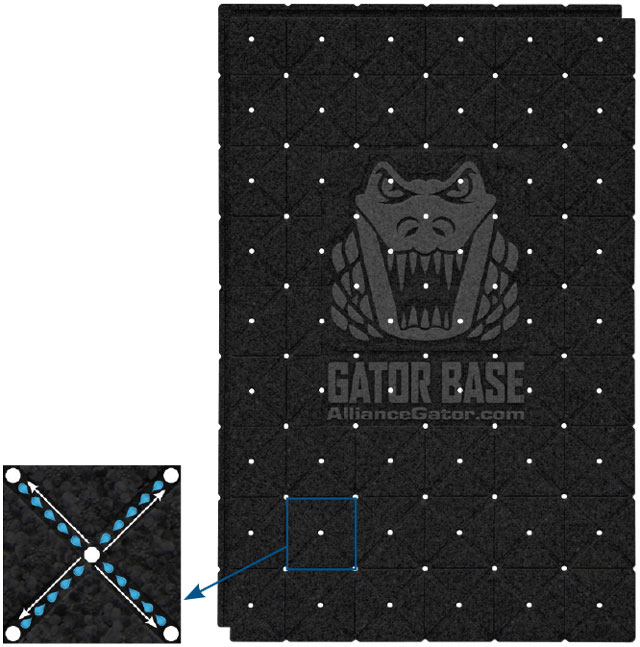
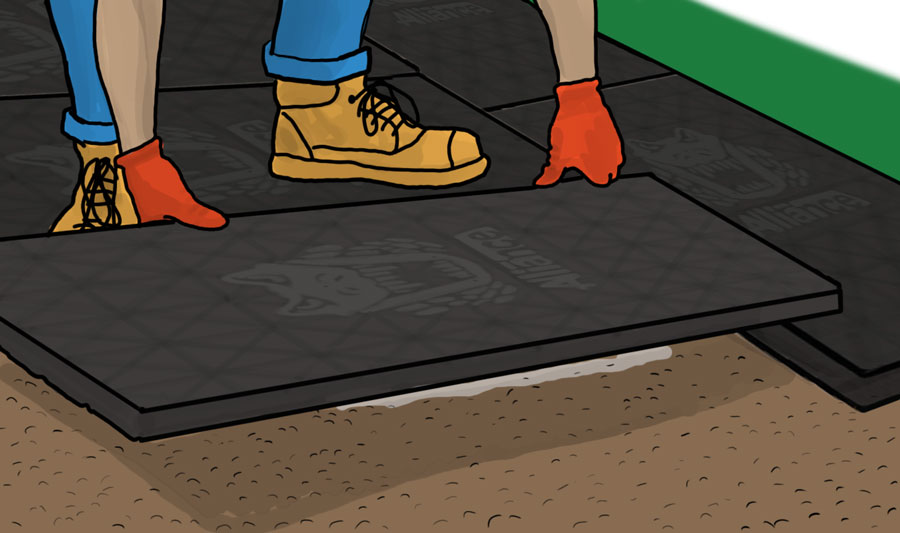
Coverage per Gator Base Unit
Total area 24.25″ x 36.25″= 6.1 sq. ft. / 61.5 cm x 92 cm= 0.566 sq. m.
Usable surface 23.5″ x 35.5″= 5.79 sq. ft. / 59.5 cm x 90 cm= 0.536 sq. m.
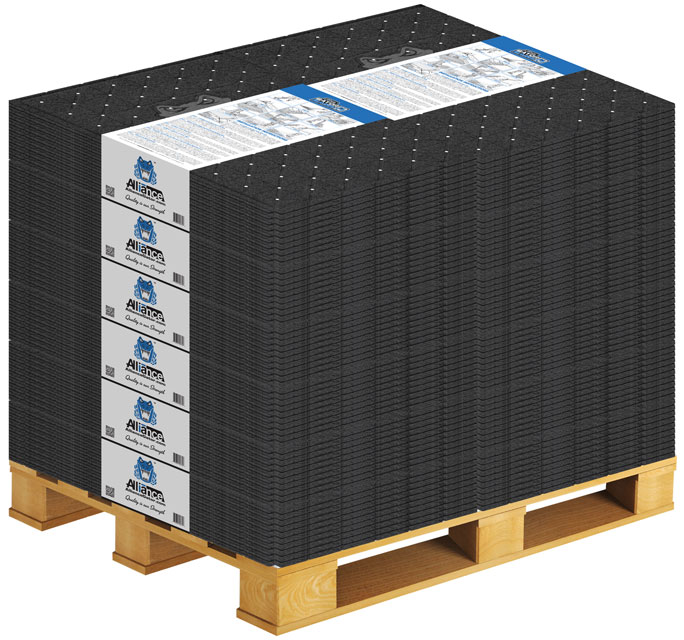
| Product | Size | Units per Pack | Units per Pallet |
|---|---|---|---|
| GATOR BASE | 24.25″ x 36.25″= 6.1 sq. ft. / 61.5 cm x 92 cm= 0.566 sq. m. | 10 | 120 |


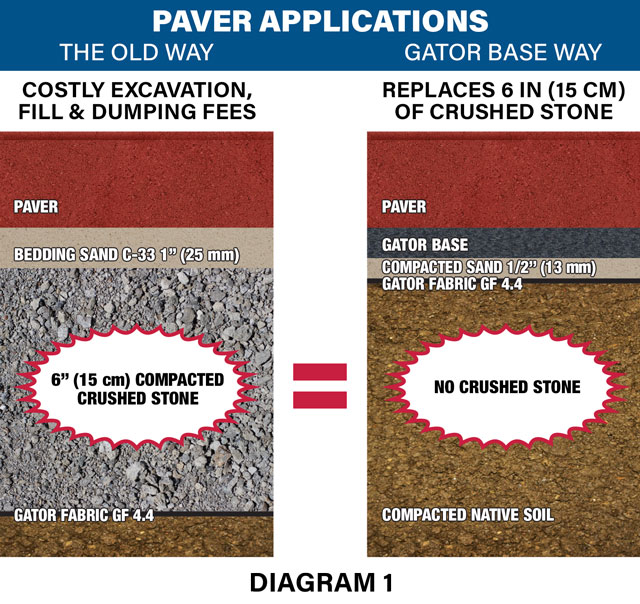
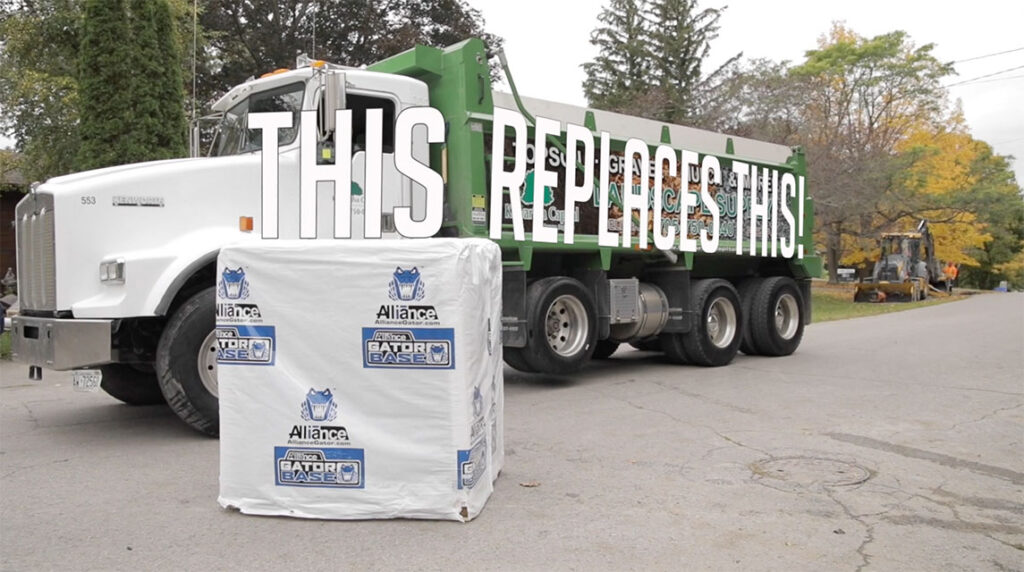
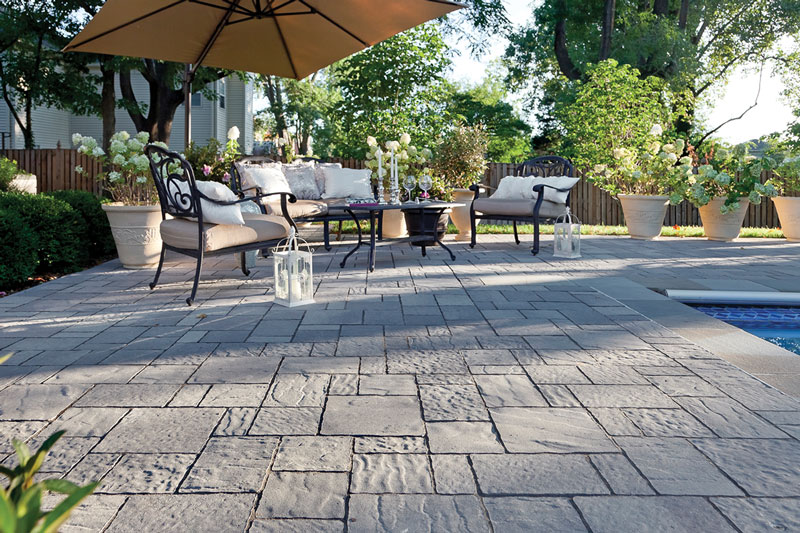
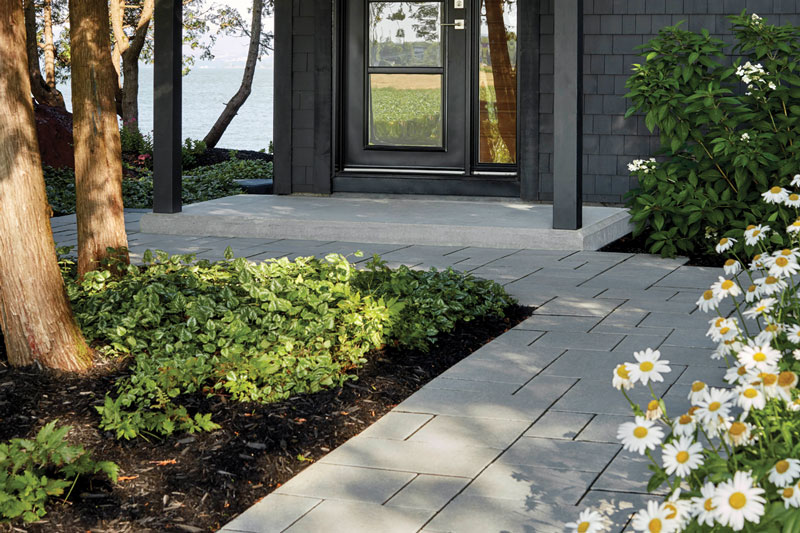
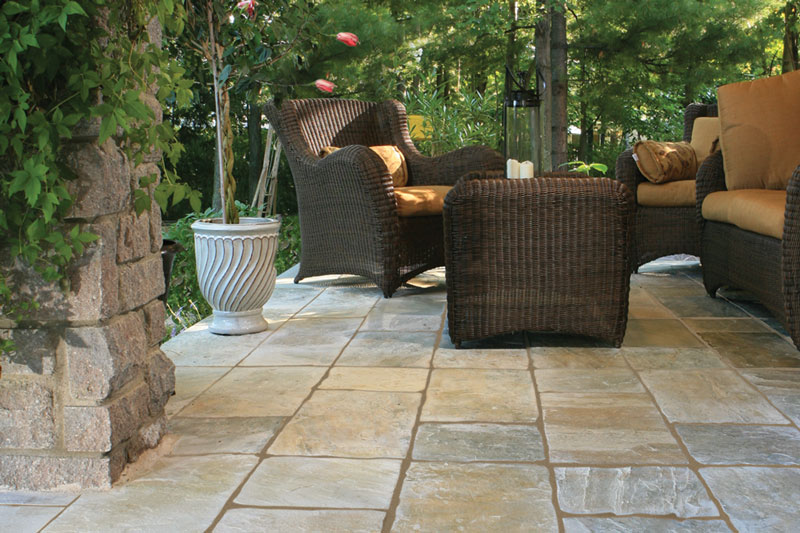
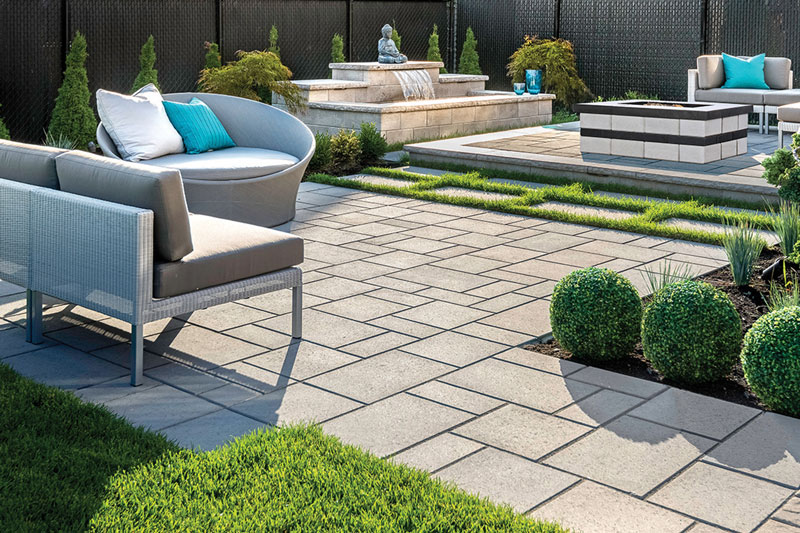
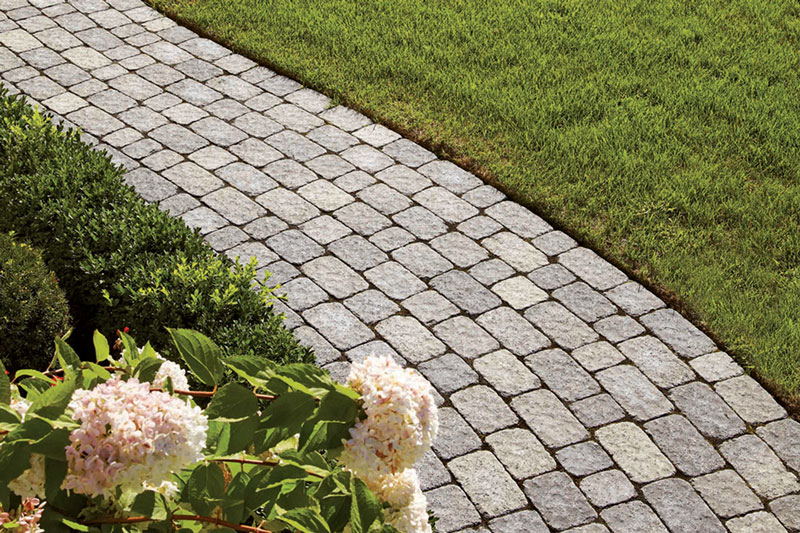
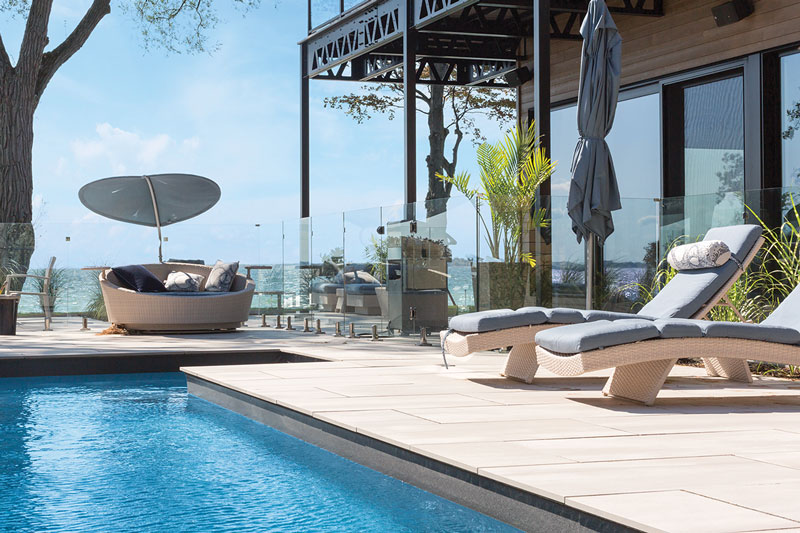
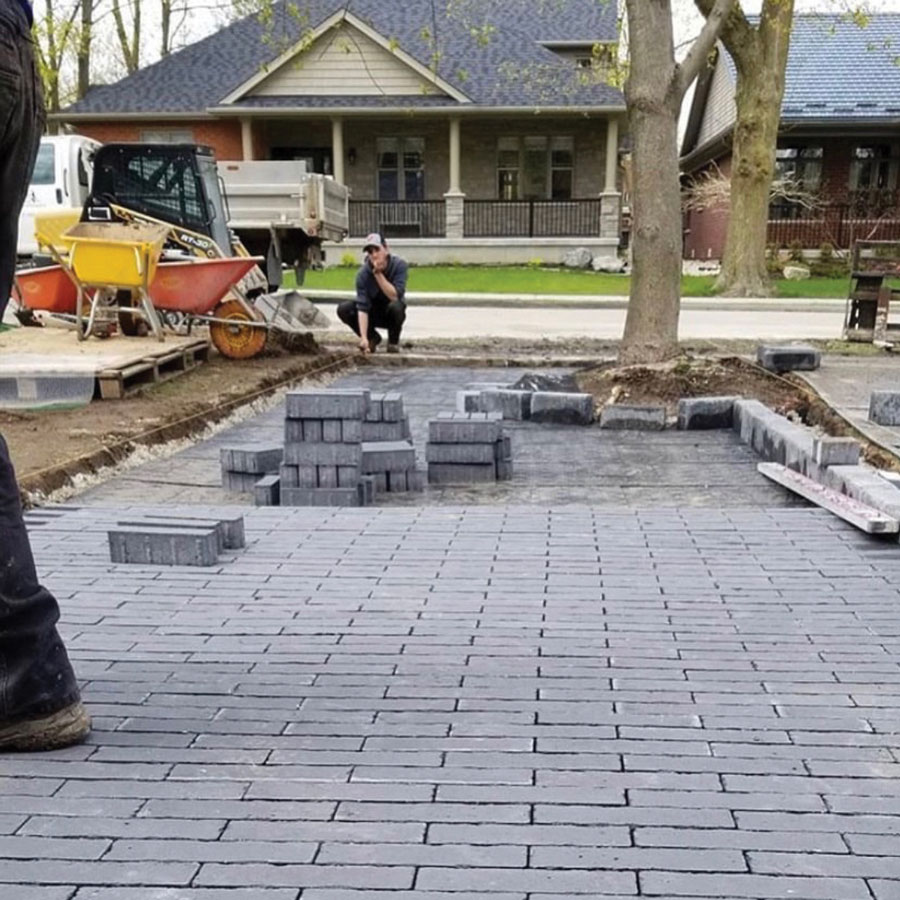
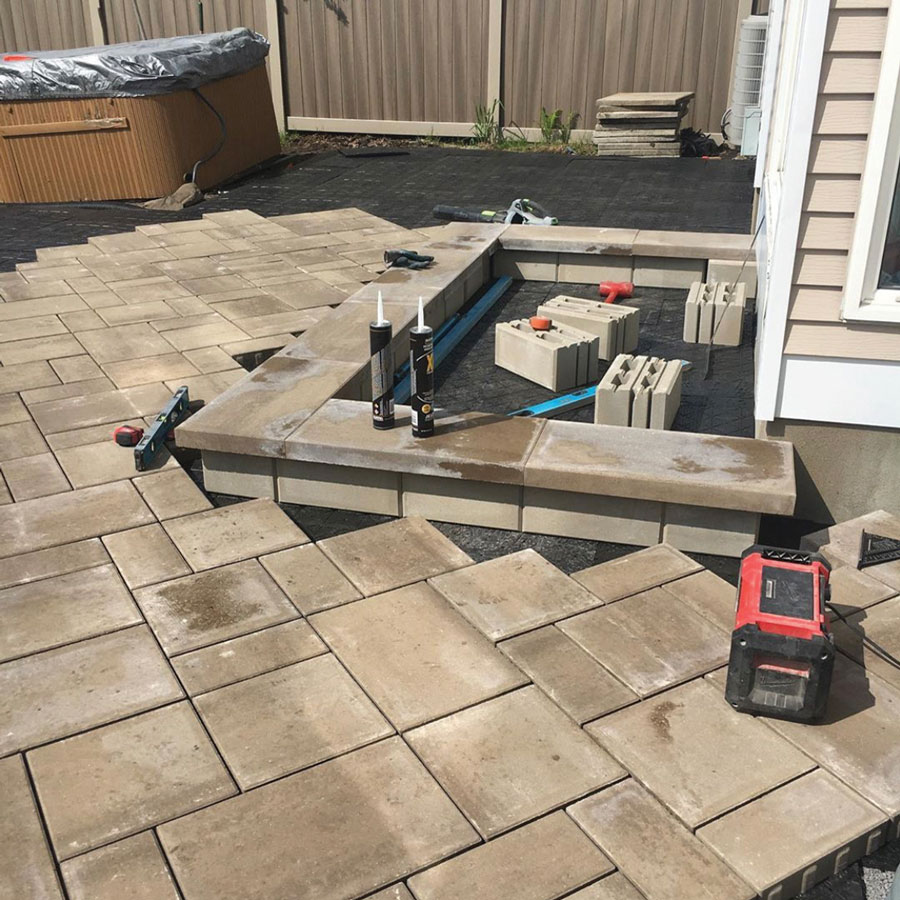
Alliance Designer Products Inc. has introduced to the market a revolutionary technology that will save 20% of time, labor and money when installing concrete pavers, natural stones or porcelain tiles.
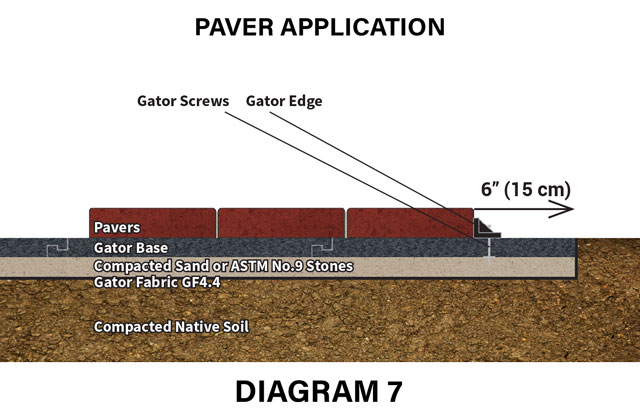
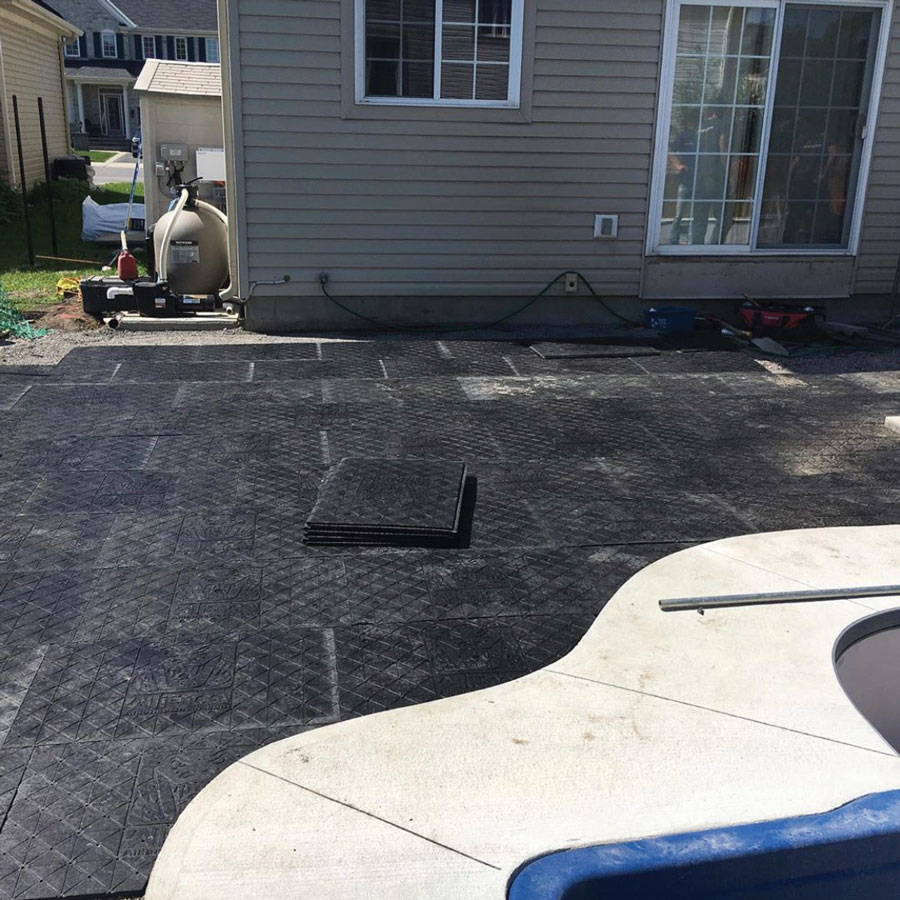
With the GATOR BASE panel, you can save 6″ (15 cm) of extra excavation, long hours for installation and the transportation of tons of aggregate.
This technology exhibits the polypropylene memory characteristics and allows the material to retain its original shape. Alliance Designer Products Inc. is now using this technology in their GATOR BASE panel for the hardscaping industry.
An exhaustive and serious evaluation was made in collaboration with the Université du Québec’s engineering institute (ETS), in the laboratory of their Pavements and bituminous materials department, in order to compare the GATOR BASE panels to a traditional method of paving stone installation with aggregate.
See (University Report tab) for more in depth information.
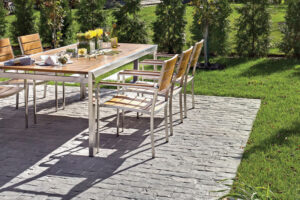
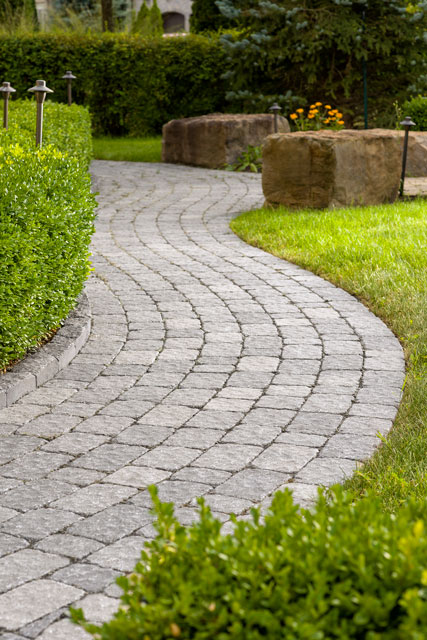
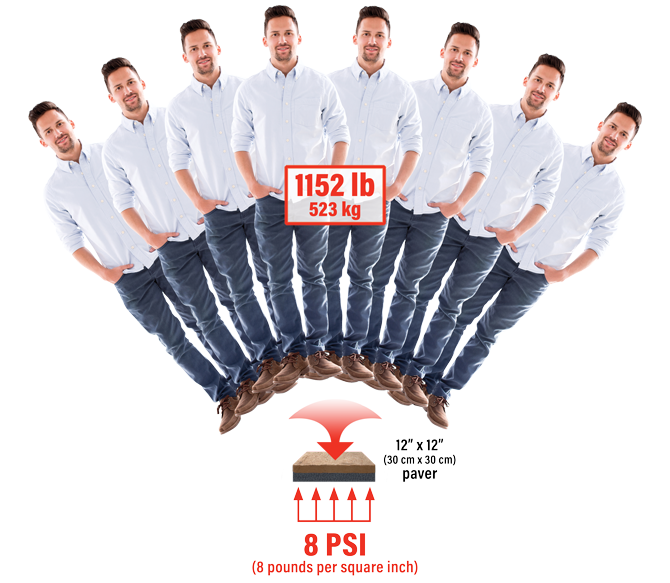
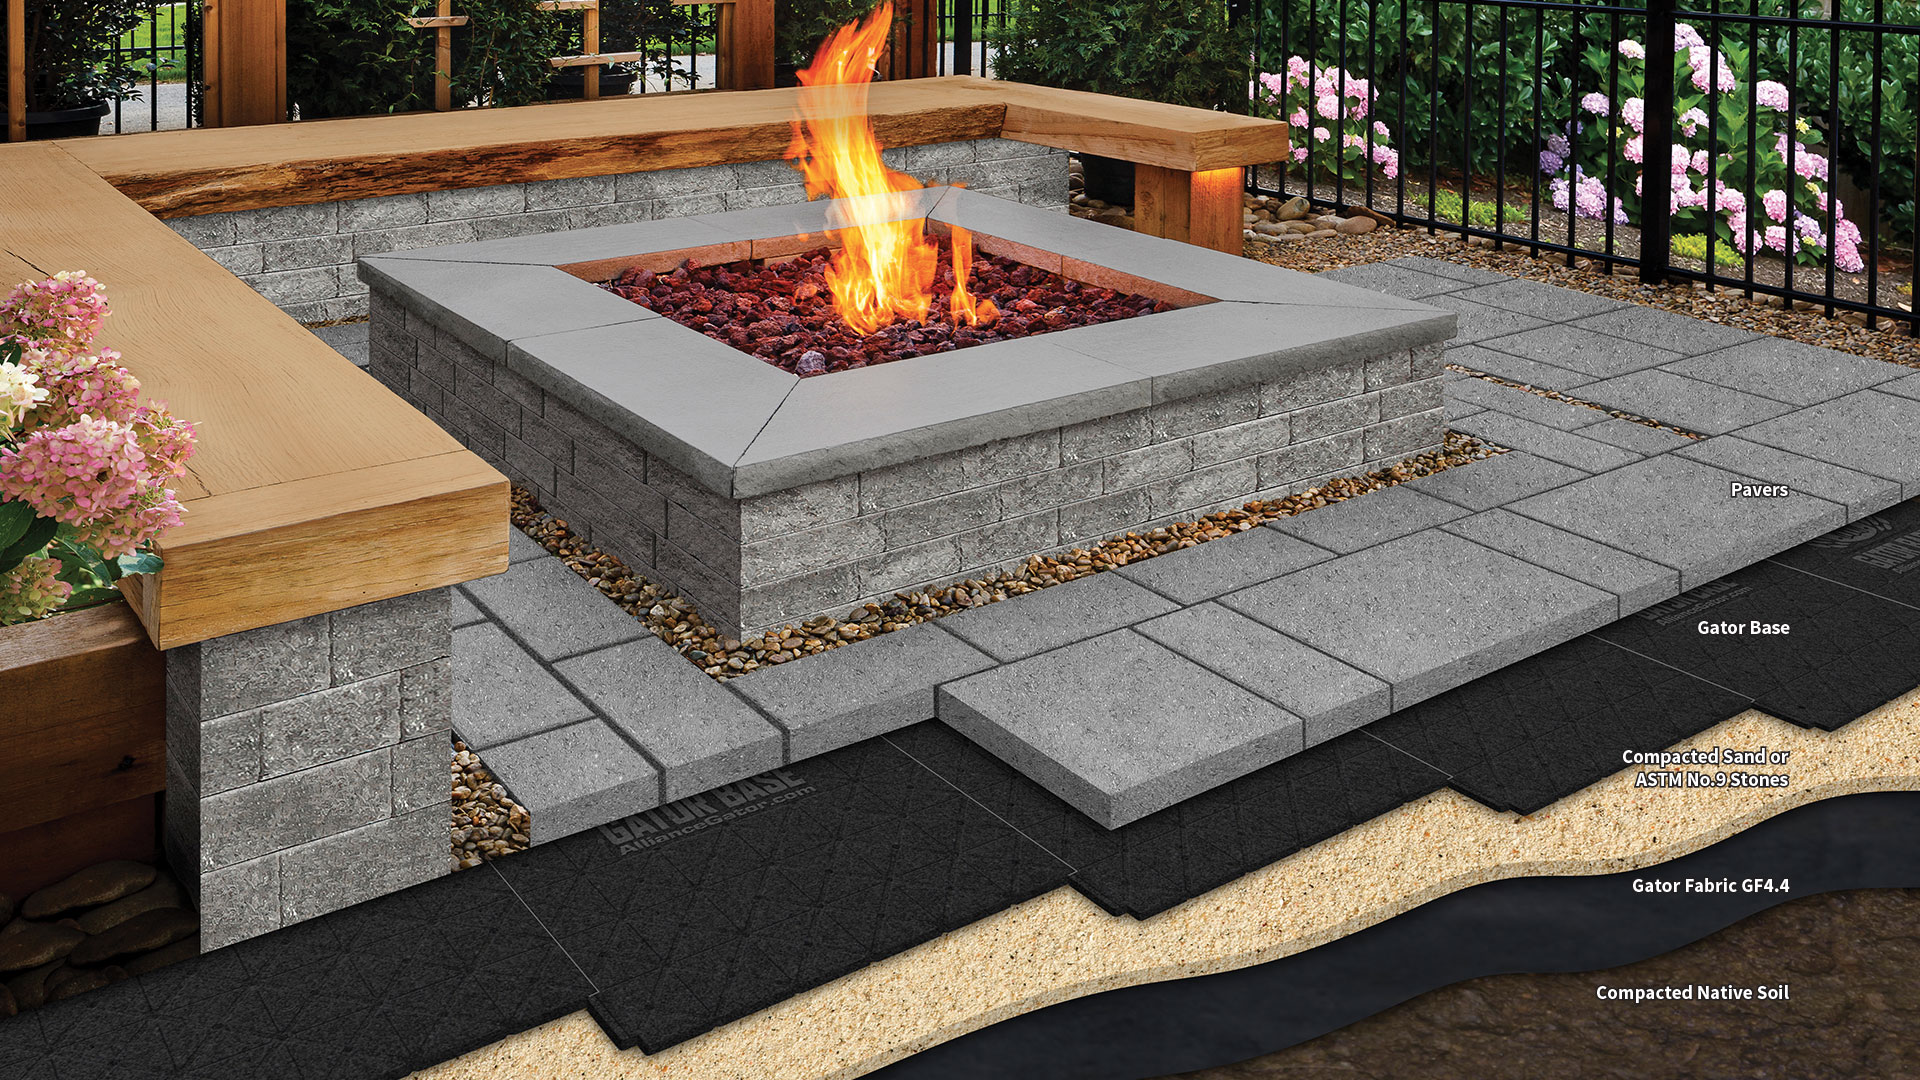
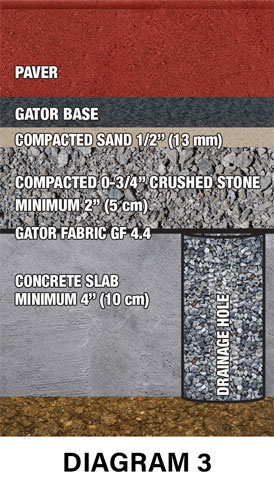
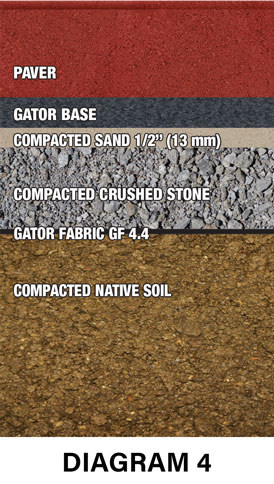
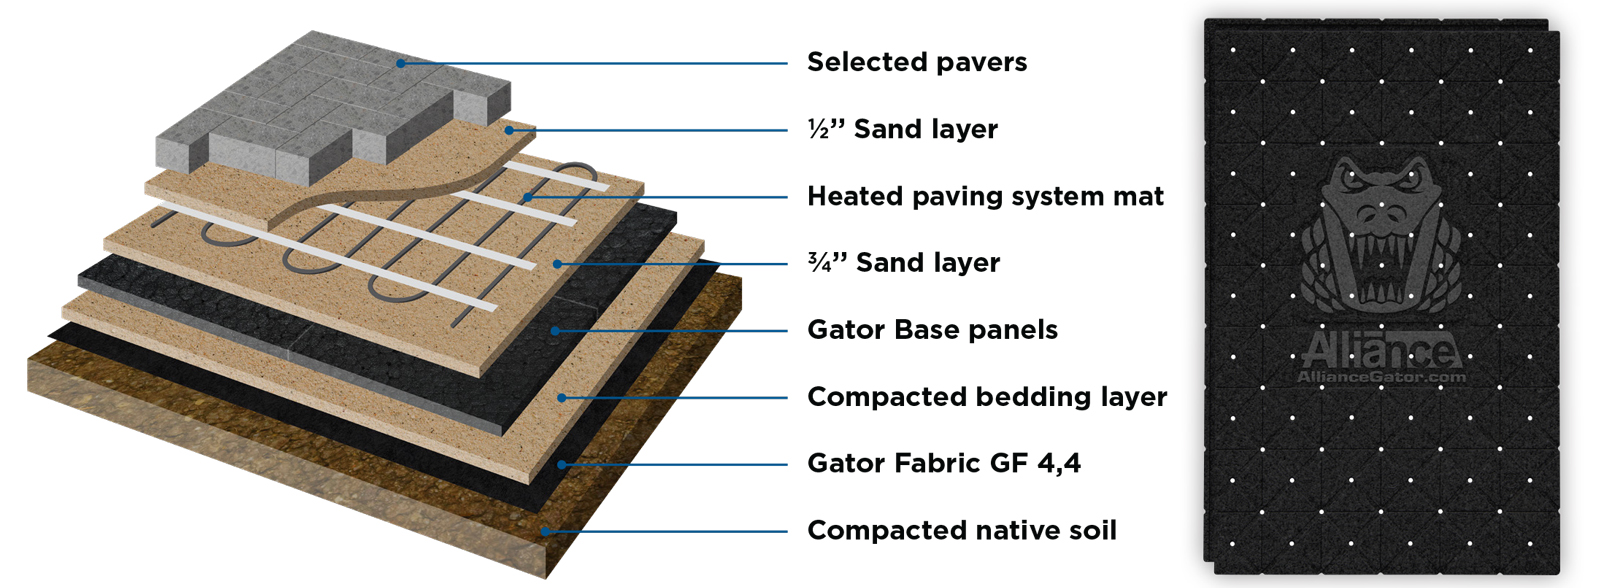
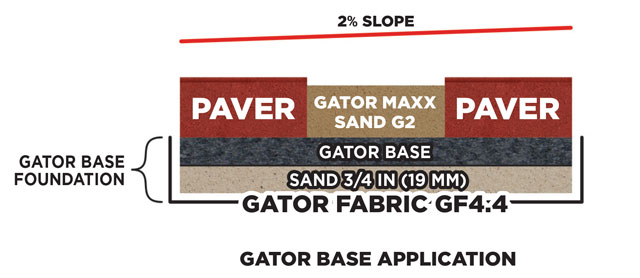
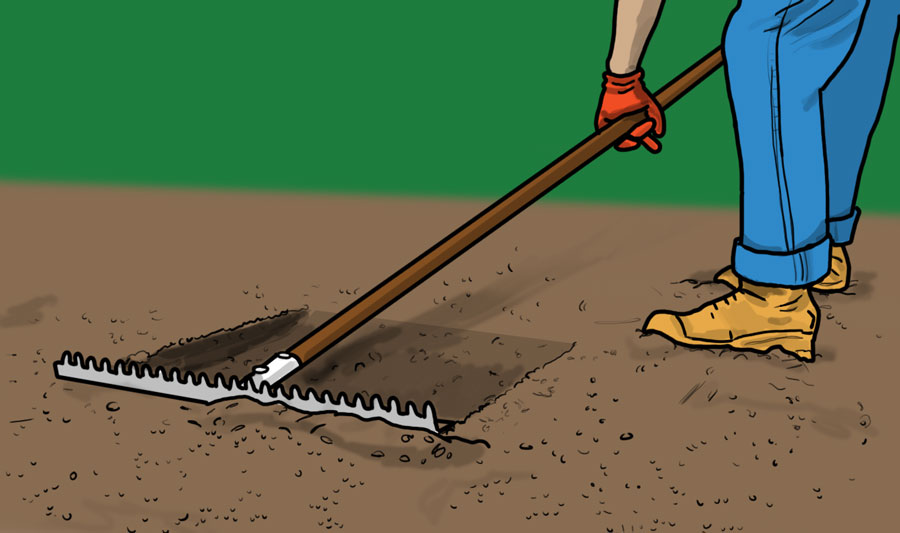
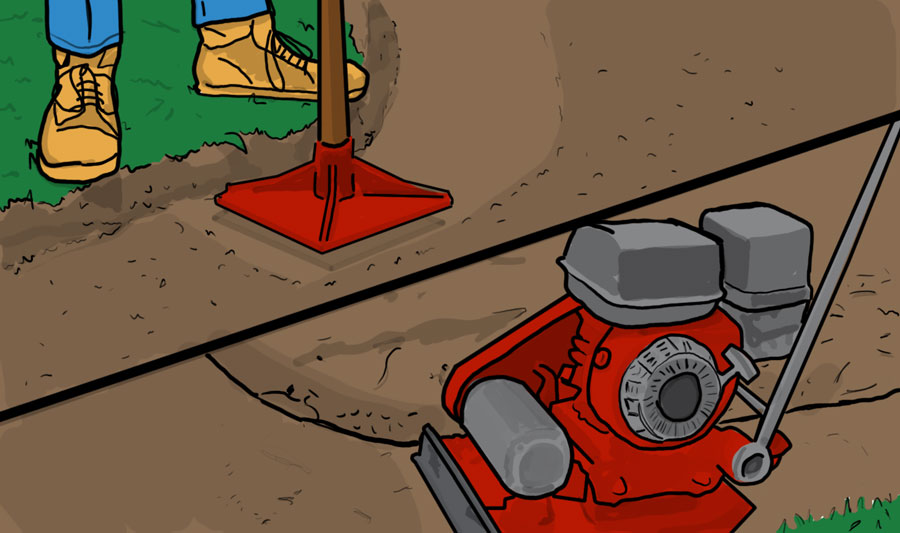
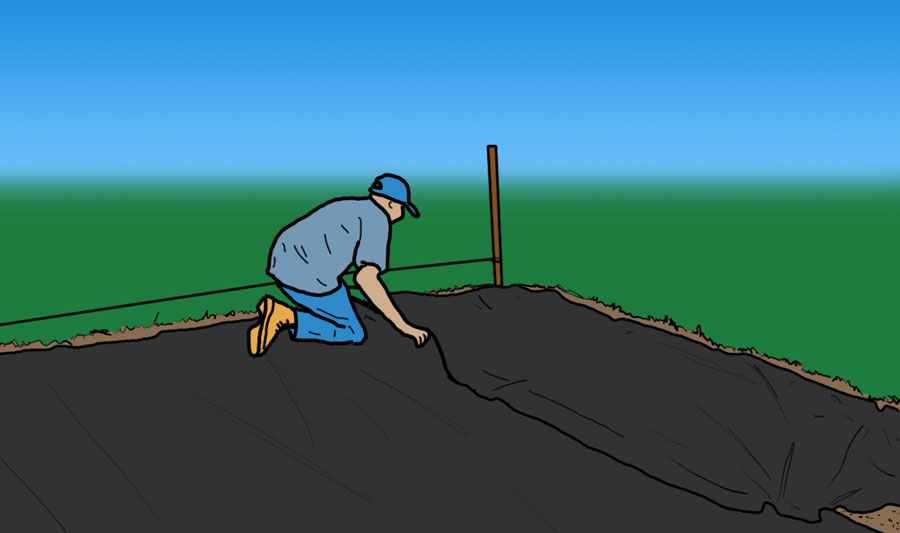
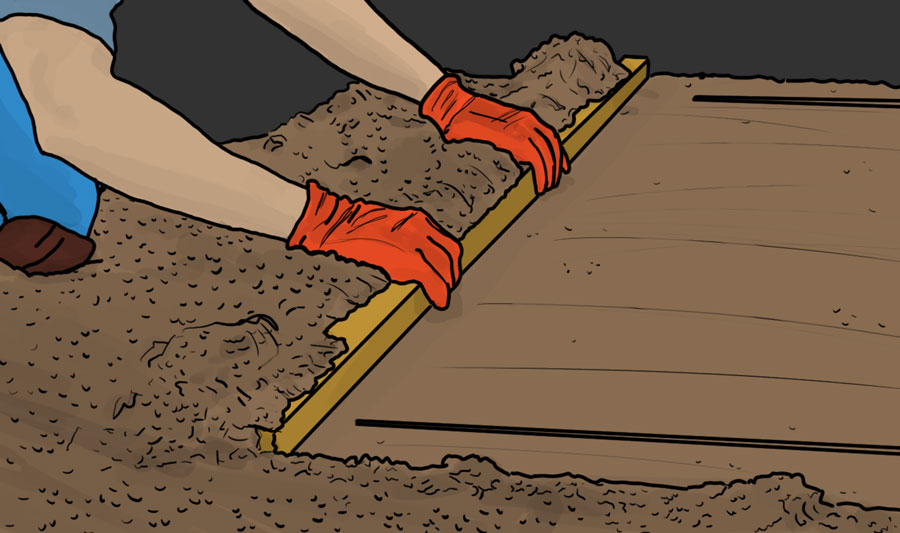
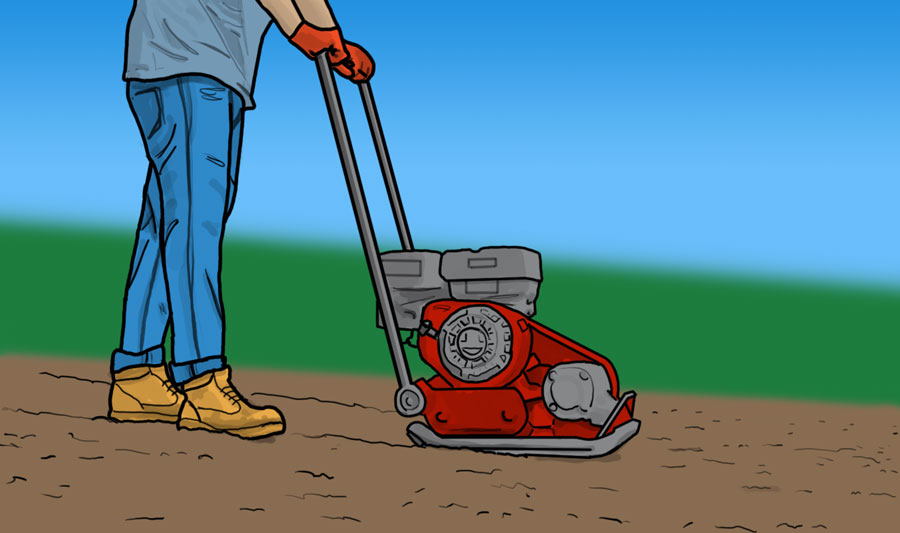
Since the GATOR BASE panels have a high thermal resistance (it would take nearly 15.7″ (40 cm) of 0-3/4″ (0-20 cm) dry stone, compacted to a porosity of 20% to equal the insulation provided by a single layer of GATOR BASE panels), it can be assumed that there would be better frost protection with the GATOR BASE than with the usual additional 6″ (15 cm) aggregate base. In this case, similar movement for both of these systems would be observed after freeze-thaw cycles. The system with the GATOR BASE panels works best for pedestrian applications such as patios and walking paths made with concrete pavers, natural stone or porcelain tiles. The subgrade soil should be compacted to at least 95% of the modified Proctor density; a geotextile fabric, Gator Fabric GF4.4, is needed on top of the subgrade and a compacted layer of sand should be used to ensure a smooth and uniform surface.

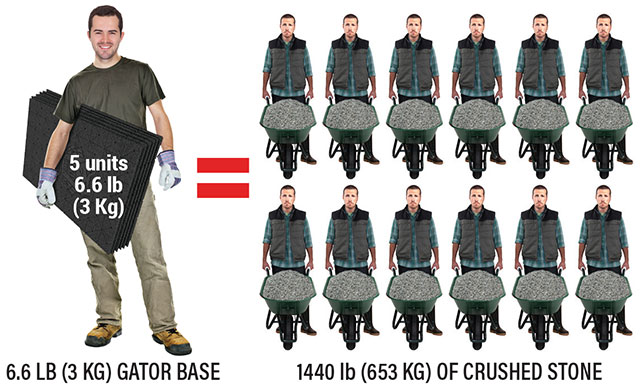
One Gator Base panel acts like 15.7″ (40 cm) of crushed stone as a thermal blanket. It is 3 times more effective than crushed stone as an insulator thus significantly reducing freeze and thaw cycles.
Conclusions from results obtained by ÉTS* when comparing GATOR BASE system versus traditional granular base system.
*École de technologie supérieure (or ÉTS) is part of the Université de Québec.
Download the University Reports
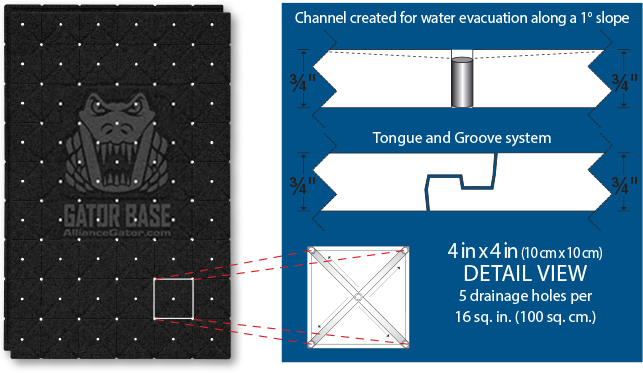
Water evacuation channels
Under License from Brock International Patented and Patents Pending: www.brockpaverbase.com

